Biochar is an extraordinary organic material that can transform your garden and contribute to sustainability efforts at a local level. Picture this: what if you could turn your kitchen scraps, yard waste, and other organic refuse into a powerful soil amendment that not only enriches your plants but also sequesters carbon in the process? Quite the intriguing proposition, isn’t it? But the challenge lies in the creation of biochar itself. How do you go about making this wondrous material without a large-scale setup? Fear not; within this guide lies a treasure trove of simple methods anyone can try at a small scale!
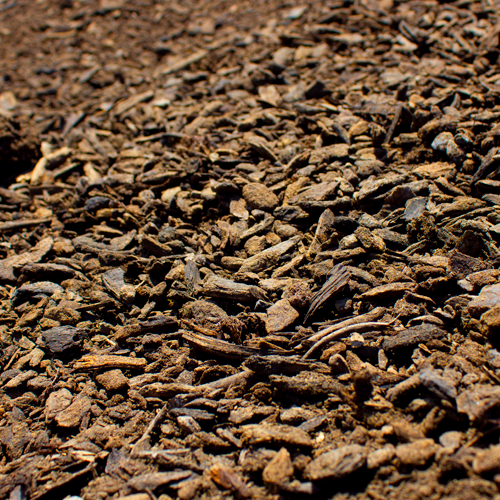
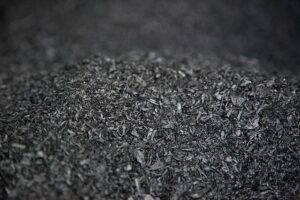
Before diving into the methods, let’s quickly clarify what biochar is. At its core, biochar is a type of charcoal produced by pyrolysis, a process that involves heating organic matter in the absence of oxygen. It’s rich in carbon and offers a myriad of benefits, such as improving soil fertility, enhancing water retention, and fostering beneficial microbial activity. Now, let’s roll up our sleeves and explore how you can prepare biochar in your own backyard or kitchen.
1. Gather Your Materials
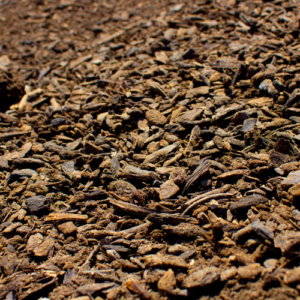
The first step towards biochar production is sourcing appropriate biomass. This can include a variety of organic materials:
- Wood scraps and shavings
- Leaves and grass clippings
- Paper and cardboard
- Kitchen scraps such as vegetable peels
Ensure these materials are free of chemicals and, if possible, organic. Additionally, consider the carbon-to-nitrogen (C:N) ratio in your mix; a balanced ratio enhances the quality of the resultant biochar.
2. Choose Your Pyrolysis Method
When it comes to producing biochar on a small scale, there are a few effective methods to consider. Here, we explore three popular approaches:
a. Traditional Kiln Method
This age-old method involves creating a simple, low-tech kiln using a metal drum or a brick structure. Fill the kiln with your prepared biomass, leaving some airflow for combustion. Light a fire and allow it to burn in a controlled manner. The key here is to regulate the oxygen available to keep the combustion limited, thus producing biochar instead of ash. Once the burning has subsided, allow the kiln to cool before extracting your biochar.
b. Simple Campfire Technique
If you’re seeking a more accessible method, consider using a campfire. Place a container filled with biomass amidst a larger fire. The embers will slowly pyrolyze the material within the container, transforming it into biochar. Although this method is less efficient, it still yields usable results. Just remember to monitor the fire closely to ensure it doesn’t flare up.
c. Backyard Biochar Reactor
For those inclined towards DIY projects, building a simple biochar reactor is a rewarding endeavor. Construct a small, closed chamber from a metal container or an unused gas cylinder. Similar to the traditional kiln, fill it with biomass, light it, and control the airflow. The benefit of this approach is the ability to produce high-quality biochar with greater consistency.
3. Cooling and Storing Your Biochar
Once you have successfully created your biochar, the next step is to cool it down safely. This can be accomplished by placing it in a metal container and dousing it with water, although be cautious to avoid creating excessive steam, which might splatter. Allow the biochar to dry before storing it in a sealed bin. Well-stored biochar can remain effective for years!
4. Activating Your Biochar
Raw biochar can be potent yet ‘hungry.’ This means that it can bind nutrients from the soil. To prevent this, it’s advisable to activate the biochar by charging it with nutrients before application. This can be achieved by soaking it in compost tea, mixing it with nutrient-rich compost, or even incorporating it with kitchen scraps. Charging your biochar not only enhances its efficacy but also nurtures the microorganisms in your garden.
5. Application in Your Garden
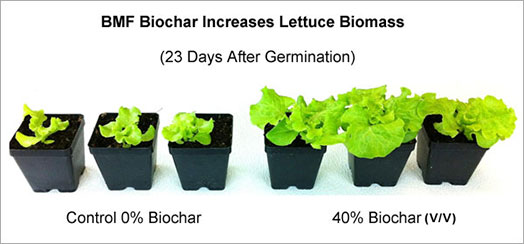
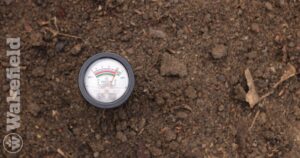
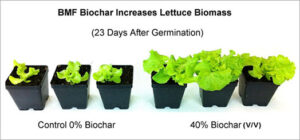
Now that you have your biochar prepared and activated, how do you introduce it to your gardening ecosystem? Spread the biochar across your garden beds, incorporating it into the soil. A general guideline is to apply about 10-20% biochar in relation to the total soil volume for optimal results. This addition will boost water retention, augment nutrient availability, and create a hospitable environment for beneficial microbial life.
6. The Impact and Benefits
The advantages of using biochar in your garden extend beyond mere soil improvement. Biochar contributes to carbon sequestration, helping combat climate change. It can reduce the need for chemical fertilizers, thereby fostering a more sustainable gardening practice. By improving soil structure, biochar also enhances drainage and aeration, creating an ideal habitat for plant roots.
Conclusion: Embrace the Challenge!
In embarking on the journey of crafting biochar, one not only contributes to a sustainable future but also enhances the vitality of their gardening landscape. The methods outlined are accessible, inviting experimentation and creativity. When faced with the question of whether you can produce biochar at a small scale, remember: with a little ingenuity, you certainly can! So grab that kitchen waste, light a fire, and join the ranks of eco-conscious gardeners transforming the way we nurture our planet.